The Beginner’s Guide to Scanning and Preserving Vintage Photography Formats

Vintage photographs capture moments that can never be recreated. Unfortunately, many older photo formats become harder to preserve as they age.
Film fades, slides lose color, and printed photos can become stained or damaged. The best way to protect these memories is to create high-quality digital copies before time takes its toll.
For many families, professional negative and slide scanning is the easiest way to preserve delicate materials while maintaining excellent image quality.
If you have inherited old photo boxes or recently discovered forgotten albums in an attic, now is the perfect time to start preserving them.
The process is easier than most people think, especially when you understand the different photography formats and how to care for them properly.
Step 1: Identify the Photography Formats in Your Collection
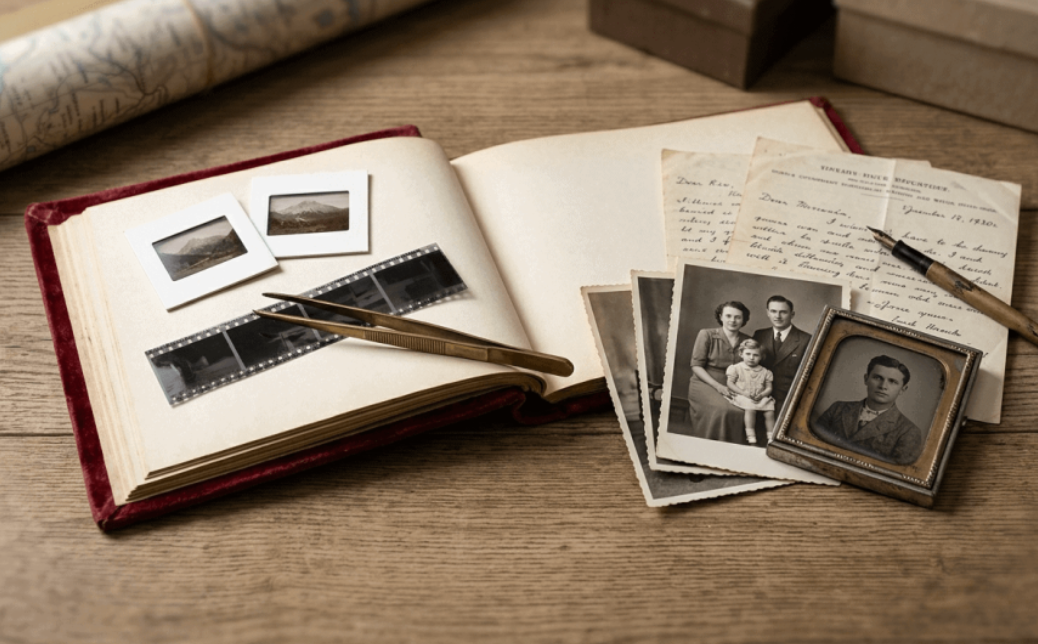
Before you begin scanning, spend some time sorting your collection. Different formats require different equipment and handling methods. You may come across items such as:
- 35mm film negatives from family vacations, birthdays, graduations, or everyday snapshots taken between the 1960s and early 2000s.
- Mounted color slides stored in carousels or slide boxes that families once viewed with projectors during holidays and gatherings.
- Printed photographs in glossy, matte, black and white, or textured finishes stored in albums, envelopes, or scrapbooks.
- Medium format negatives that were commonly used by professional photographers for portraits, weddings, and studio photography.
- Instant photographs from older Polaroid cameras often fade or develop discoloration over time.
Sorting your collection by format makes scanning much faster and reduces the chance of accidental damage.
See also: How to Transform Your Home with Professional Painting Services
Step 2: Handle Vintage Photos With Care
Old photographs become increasingly fragile as they age. Even small mistakes can leave permanent scratches or fingerprints. Follow these handling tips:
- Hold negatives and slides only by the outer edges to avoid fingerprints on the image area.
- Use clean cotton gloves when handling glass negatives, delicate prints, or valuable family photographs.
- Remove loose dust with a manual air blower instead of wiping the surface with tissues or paper towels.
- Keep photographs away from food, drinks, candles, and direct sunlight while working.
- Place photos on a clean, flat surface instead of stacking them in uneven piles during sorting.
Step 3: Choose the Right Scanning Method
The quality of your digital images depends heavily on the equipment you use. Different formats require different scanning methods. Here are your main options:
- Flatbed scanners work well for printed photographs, postcards, newspaper clippings, and scrapbook pages.
- Dedicated film scanners produce sharper images with better color accuracy when scanning negatives and slides.
- Home scanning apps can capture quick reference images, but usually miss fine details found in vintage photographs.
- Professional scanning services are often the safest choice for damaged negatives, curled film, faded slides, and fragile collections that require careful handling.
Step 4: Scan at the Right Resolution
Many beginners make the mistake of scanning at low resolution, only to discover later that the files cannot be enlarged or restored properly. For long-term preservation:
- Scan printed photographs at 600 dpi or higher for detailed archival copies.
- Scan negatives and slides at 2400 dpi to 4000 dpi to capture fine image details.
- Save master files as TIFF to preserve maximum quality.
- Create additional JPEG copies for emailing, social media, and everyday sharing.
- Avoid repeatedly rescanning the same originals because every handling session increases the risk of damage.
Step 5: Organize Digital Files From the Beginning
A well-organized collection is much easier to enjoy and maintain. Instead of naming files “Photo1” or “Image23,” create folders based on meaningful categories. For example:
- 1978 Family Vacation to Yellowstone National Park
- Smith Family Christmas 1985
- Emily’s High School Graduation 1994
- Parents’ Wedding Album 1972
- Grandparents’ Military Service Photos
Step 6: Back Up Your Collection in Multiple Places
Scanning your collection is only half the job. You also need to protect the digital files. A reliable backup system should include:
- One complete copy stored on your primary computer.
- A second copy saved on an external hard drive kept in another room.
- A third copy uploaded to secure cloud storage.
- Additional copies shared with trusted family members for extra protection.
- A reminder to review and update backups every six to twelve months.
Step 7: Preserve Film Before It Deteriorates Further
Film does not last forever. Heat, humidity, mold, and improper storage gradually reduce image quality.
If your collection includes negatives or reels that have been sitting in storage for decades, now is the ideal time to convert old film to digital. Once digitized, the images become much easier to restore, organize, duplicate, and share without exposing the originals to additional wear.
Waiting too long may result in permanent fading or physical damage that even restoration software cannot fix.
Step 8: Store the Originals Correctly
Even after scanning, your original photographs remain valuable family heirlooms. Store them using archival methods such as:
- Acid-free photo boxes instead of ordinary cardboard storage boxes.
- Polyester or polypropylene archival sleeves designed specifically for photographs and film.
- Cool, dry rooms with stable temperatures instead of hot attics or damp basements.
- Flat storage for photographs that have started to curl or bend.
- Separate envelopes for negatives and slides to reduce scratches during handling.
Final Thoughts
Preserving vintage photography formats does not have to feel overwhelming.
You can protect decades of family history before it is too late by identifying each format, handling photographs carefully, choosing the correct scanning method, organizing your digital files, creating multiple backups, and storing the originals properly.
Every photograph tells part of your family’s story. Taking the time to preserve those memories today ensures they can be enjoyed, shared, and passed down for generations to come.